
Recording 101
-
Apr, Sun, 2024
Welcome to the world of audio recording—a key aspect of music production that turns your raw talent and hard work into shareable, listenable art. Whether you’re laying down your first track in a home studio or stepping into a professional recording booth, understanding the basics of audio recording is essential. This guide is designed to demystify the process, helping you, the recording artist, to navigate your recording sessions with confidence and creativity.
Understanding the Recording Chain
The recording chain is the path your sound takes from source to storage. It typically consists of the sound source (your voice or instrument), the microphone, a preamp, an analog-to-digital converter, and the recording medium (usually your computer’s DAW—Digital Audio Workstation). Each link in this chain plays a crucial role in capturing the best possible sound.
1. The Sound Source: The most important element. Ensure your instrument is well-tuned and that you’re using proper technique to produce the best possible sound.
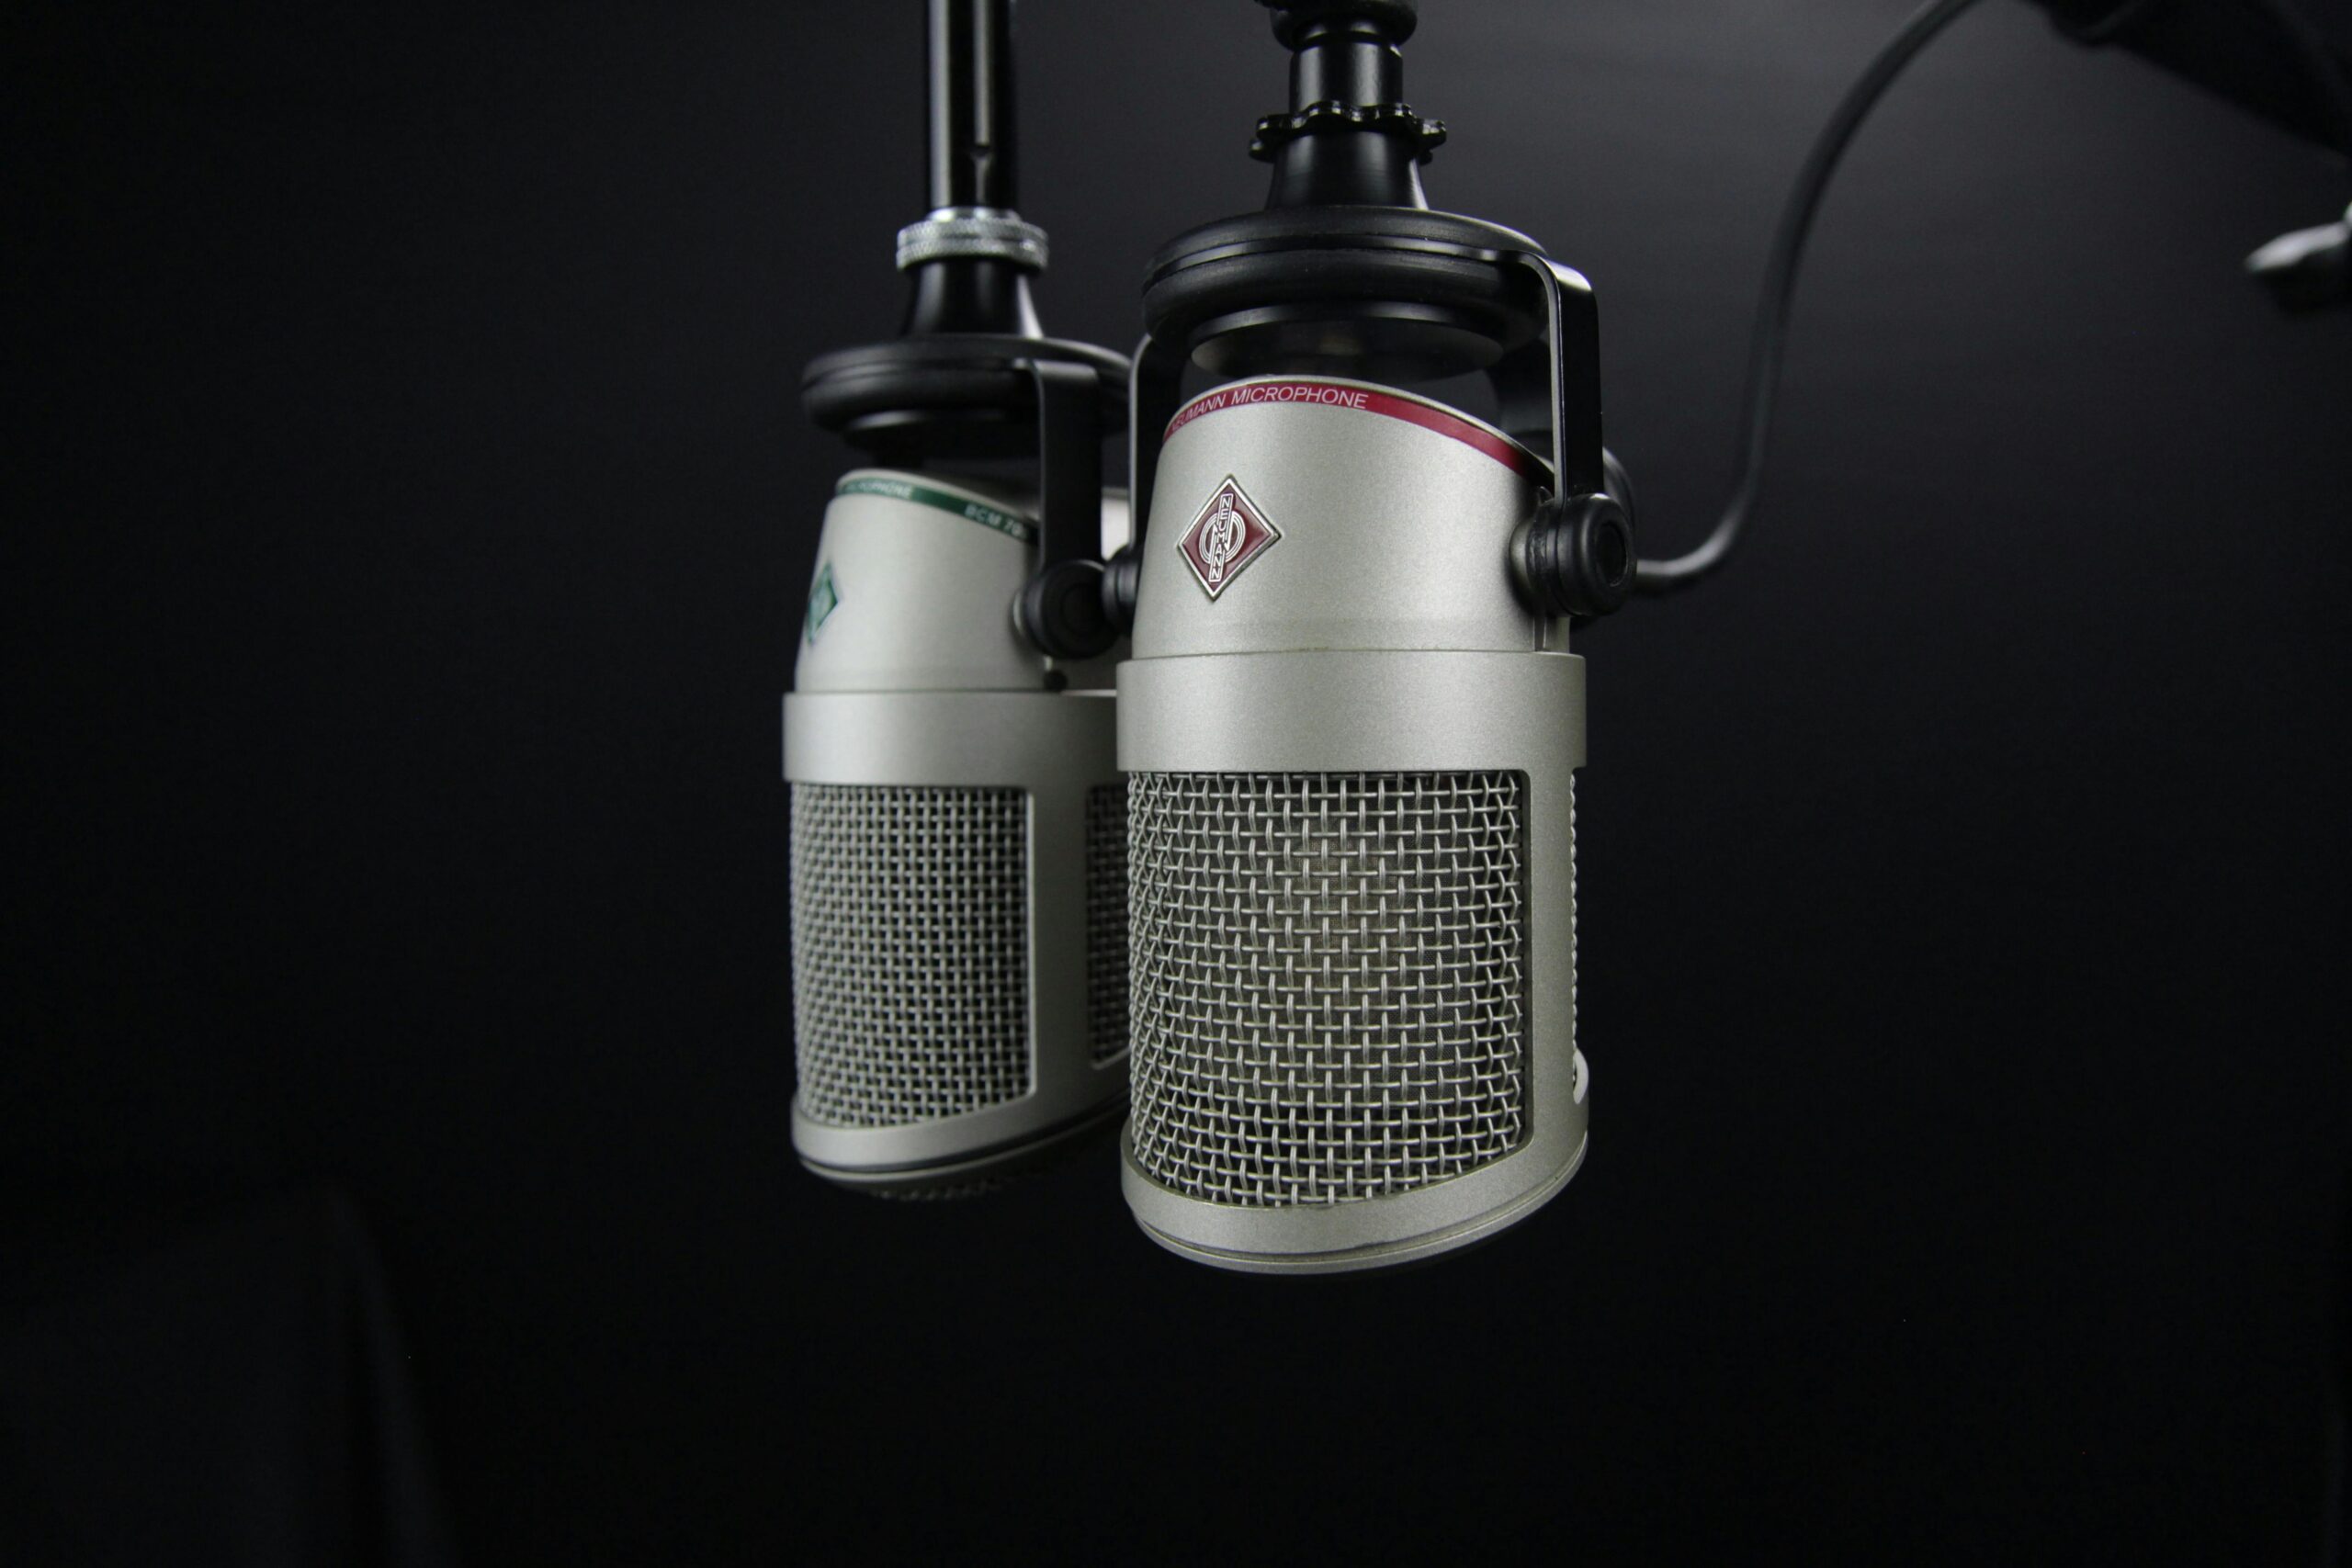
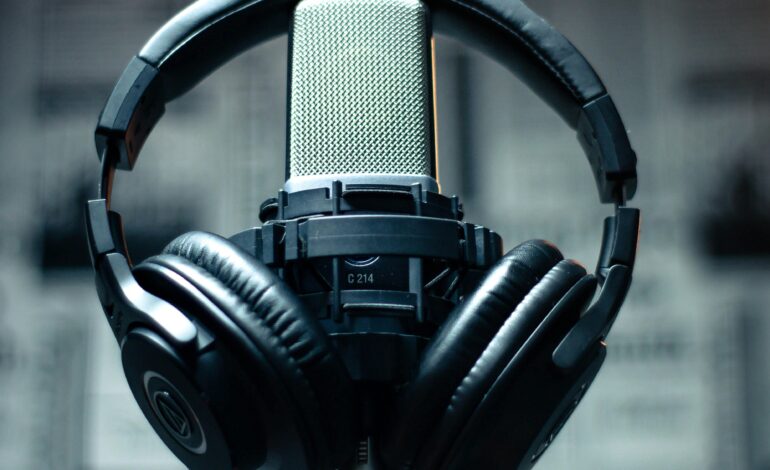
2. Microphones: Different mics capture sound in unique ways. Large-diaphragm condenser mics are excellent for vocals and acoustic instruments, offering clarity and detail. Dynamic mics, rugged and less sensitive, are ideal for loud sources like drums and electric guitar amps. Check out a list of microphones here.
3. Preamps: A preamp boosts the microphone’s signal to a level where it can be effectively processed and recorded. Quality preamps provide warmth and character to your recordings. Check out Vintage King Audio for pre amps.
4. Analog-to-Digital Converters (ADCs): These devices convert the analog signal from your microphone into a digital signal that your computer can record. Higher quality ADCs can capture more detail and produce a clearer representation of your sound.
5. Digital Audio Workstation (DAW): The software you use to record, edit, and mix your music. Popular DAWs include Pro Tools, Logic Pro, Ableton Live, and FL Studio.
Tips for a Successful Recording Session
Prepare Your Material: Know your parts inside and out. The more prepared you are, the more efficiently you’ll use studio time.
Choose the Right Microphone: Experiment with different microphones to find the one that best captures your sound.
Mind the Room: Your recording environment plays a significant role in the sound quality. In a less-than-ideal space, use acoustic treatments (like foam panels) to minimize unwanted reverb or echo.
Monitor Levels: Keep an eye on your levels during recording. Aim for a strong signal that doesn’t clip (go into the red on your meter).
Take Breaks: Ear fatigue is real. Taking regular breaks during long sessions can help you maintain a fresh perspective on your sound.
Post-Recording: Editing and Mixing
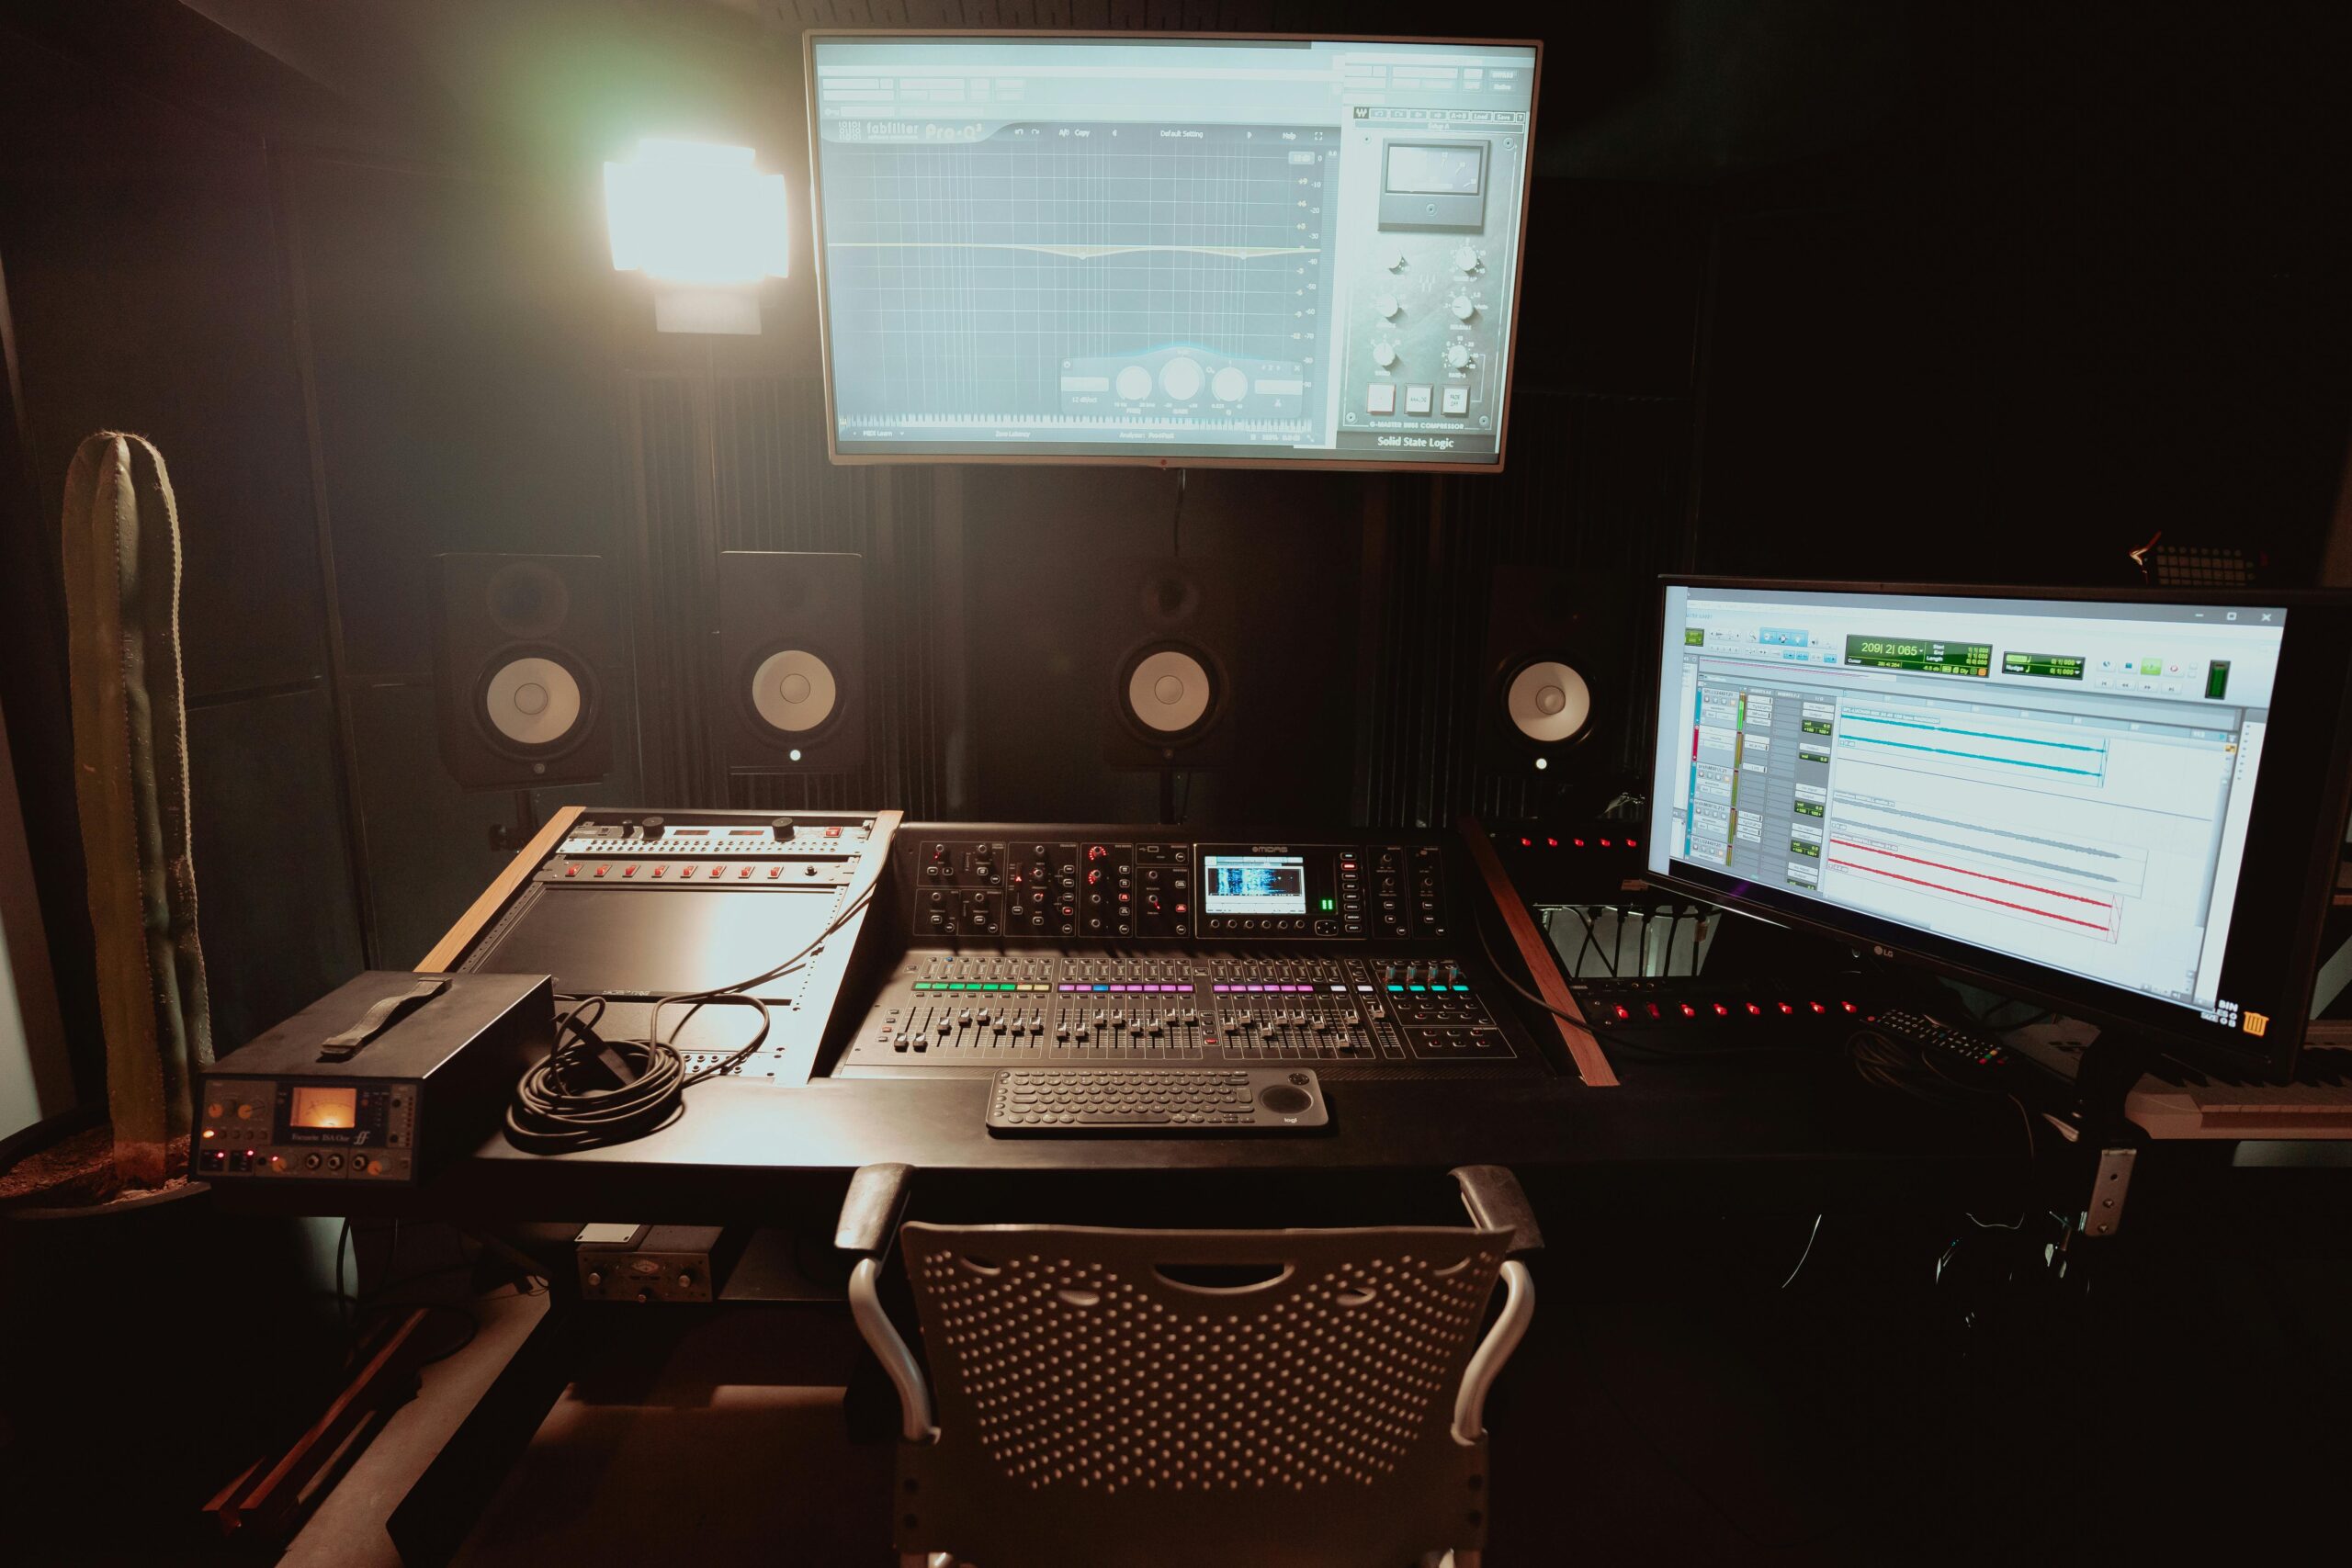
Once you’ve captured your performances, the next steps are editing and mixing. Editing involves cleaning up the tracks (removing unwanted noise, correcting timing issues) while mixing balances the levels of each track, applies effects (like EQ, reverb, and compression), and ensures that all elements blend harmoniously. Once the mixing process is completed, the mastering process would begin to increase sound quality and overall loudness of the record. When mastering is complete your song is ready for release on DSP’s.
Embrace the Learning Curve
Audio recording is both an art and a science. It takes time to develop your ears, understand how different equipment affects your sound, and learn the ins and outs of your DAW. Embrace this learning curve, and remember that every recording session is an opportunity to grow as an artist and producer.
By diving into the world of audio recording with enthusiasm and patience, you’re taking a significant step towards realizing your musical visions. Keep experimenting, stay curious, and let your creative spirit guide you through this sonic journey. Visit our glossary for any terms you may need to know!