Creating a professional-grade home studio doesn’t have to cost a fortune. In fact, with the right gear and smart setup strategies, you can build a studio on a budget that meets the demands of serious music production, content creation, and even client work.
In this blog, we’ll cover the essential equipment you need, provide budget-friendly recommendations, and offer tips on optimizing your space to ensure high-quality sound, comfort, and efficiency. So, let’s dive into everything you need to set up a home studio that doesn’t break the bank but still delivers results.
1. Choosing Your Space Wisely
Before we get into gear, let’s start with your studio location. Ideally, choose a space that minimizes outside noise, offers enough room for equipment, and has decent acoustic properties. While it might not be possible to find a room that’s soundproofed, try to avoid spaces with too many hard surfaces (like kitchens) that can cause echo. Bedrooms, basements, or spare rooms often work well because they’re isolated from household noise.
2. Basic Equipment for a Home Studio Setup
When building a budget studio, focus on acquiring the core essentials first. Here’s what you’ll need:
1. Computer
Your computer is the backbone of your studio, and it’s one area where quality matters. You don’t need a top-of-the-line model, but you’ll want something with:
- 8GB+ of RAM (preferably 16GB)
- SSD storage for faster file handling
- Reliable CPU (Intel i5 or AMD Ryzen 5 as a minimum)
If your budget is tight, consider refurbished models or upgrading your current computer.
2. Digital Audio Workstation (DAW)
A DAW is the software you’ll use to record, edit, and produce music. Some budget-friendly DAWs include:
- Reaper: Affordable and highly customizable, with a free trial option.
- GarageBand: Free for Mac users and great for beginners.
- Audacity: A free and basic tool for recording and editing.
For serious production, investing in DAWs like Pro Tools, Ableton Live, FL Studio, or Logic Pro X (Mac-only) will give you more versatility and are usually desired for outside clients to run sessions from your studio.
3. Audio Interface
An audio interface improves sound quality and allows you to connect microphones, instruments, and speakers. Budget-friendly options include:
- Focusrite Scarlett 2i2: A popular choice for its quality and affordability.
- Behringer UMC22: A cheaper alternative that still performs well for small setups.
- PreSonus AudioBox USB 96: Another great choice with low latency and solid sound.
4. Microphone
A quality microphone is essential, even if you’re mainly producing. A versatile option will allow you to record vocals, instruments, and ambient sounds. For budget-friendly options:
- Audio-Technica AT2020: Known for clear, professional sound at a lower price.
- Shure SM57: A classic, versatile dynamic mic perfect for instruments.
- Rode NT1-A: More expensive but offers excellent quality for vocals.
For basic setups, a condenser microphone like the AT2020 or Rode NT1-A will provide clear, accurate recordings.
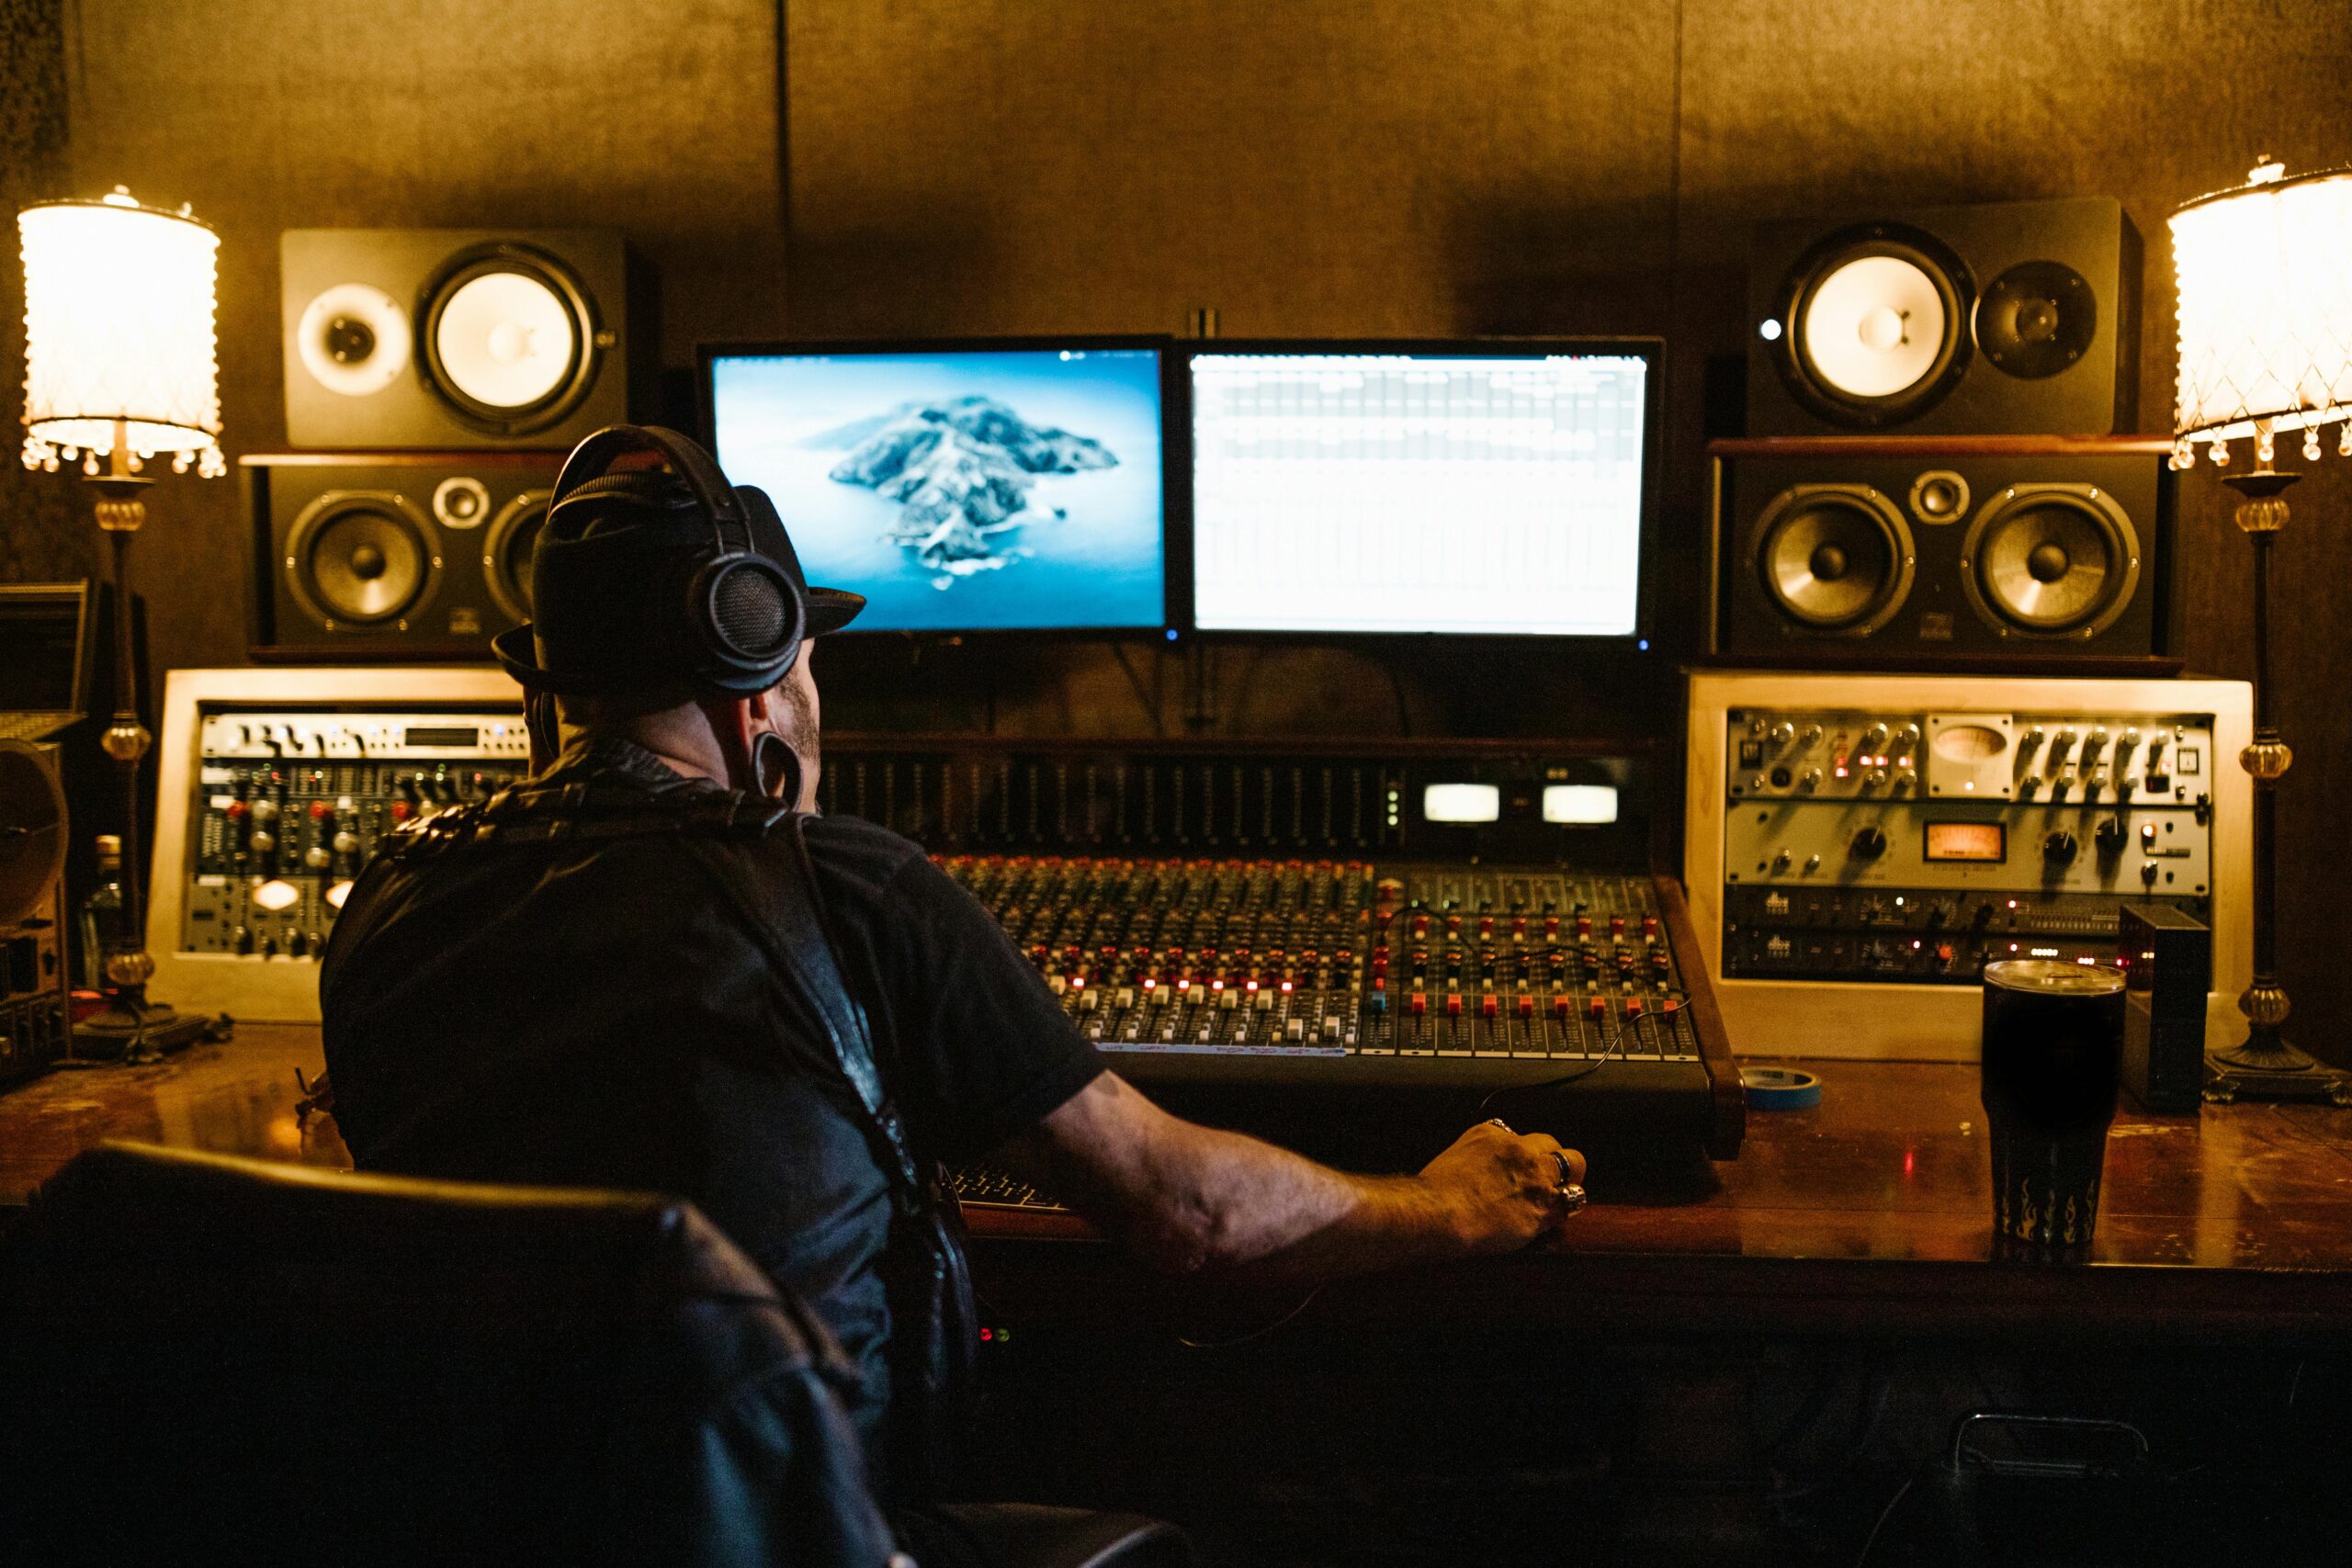
5. Headphones and Monitors
Good headphones are critical for mixing and monitoring. Budget recommendations include:
- Audio-Technica ATH-M50X: Affordable with accurate sound.
- Sony MDR-7506: Known for detailed sound and comfort.
- KRK Rokit 5 G4: Ideal for entry-level studio monitors if your budget allows.
Tip: The speakers make the sound of the room for the customers, it is smart to have 8″ speakers in your set up if you can fit it in your budget.
6. MIDI Keyboard Controller
A MIDI keyboard adds flexibility, allowing you to play software instruments directly within your DAW. Budget-friendly picks include:
- Akai MPK Mini: Compact, portable, and equipped with pads and knobs.
- Arturia MiniLab MkII: Great sounds and affordable.
- M-Audio Keystation 49: Full-sized keys for more expressive playing.
A MIDI keyboard isn’t essential, but it can add creative possibilities to your studio at a low cost.
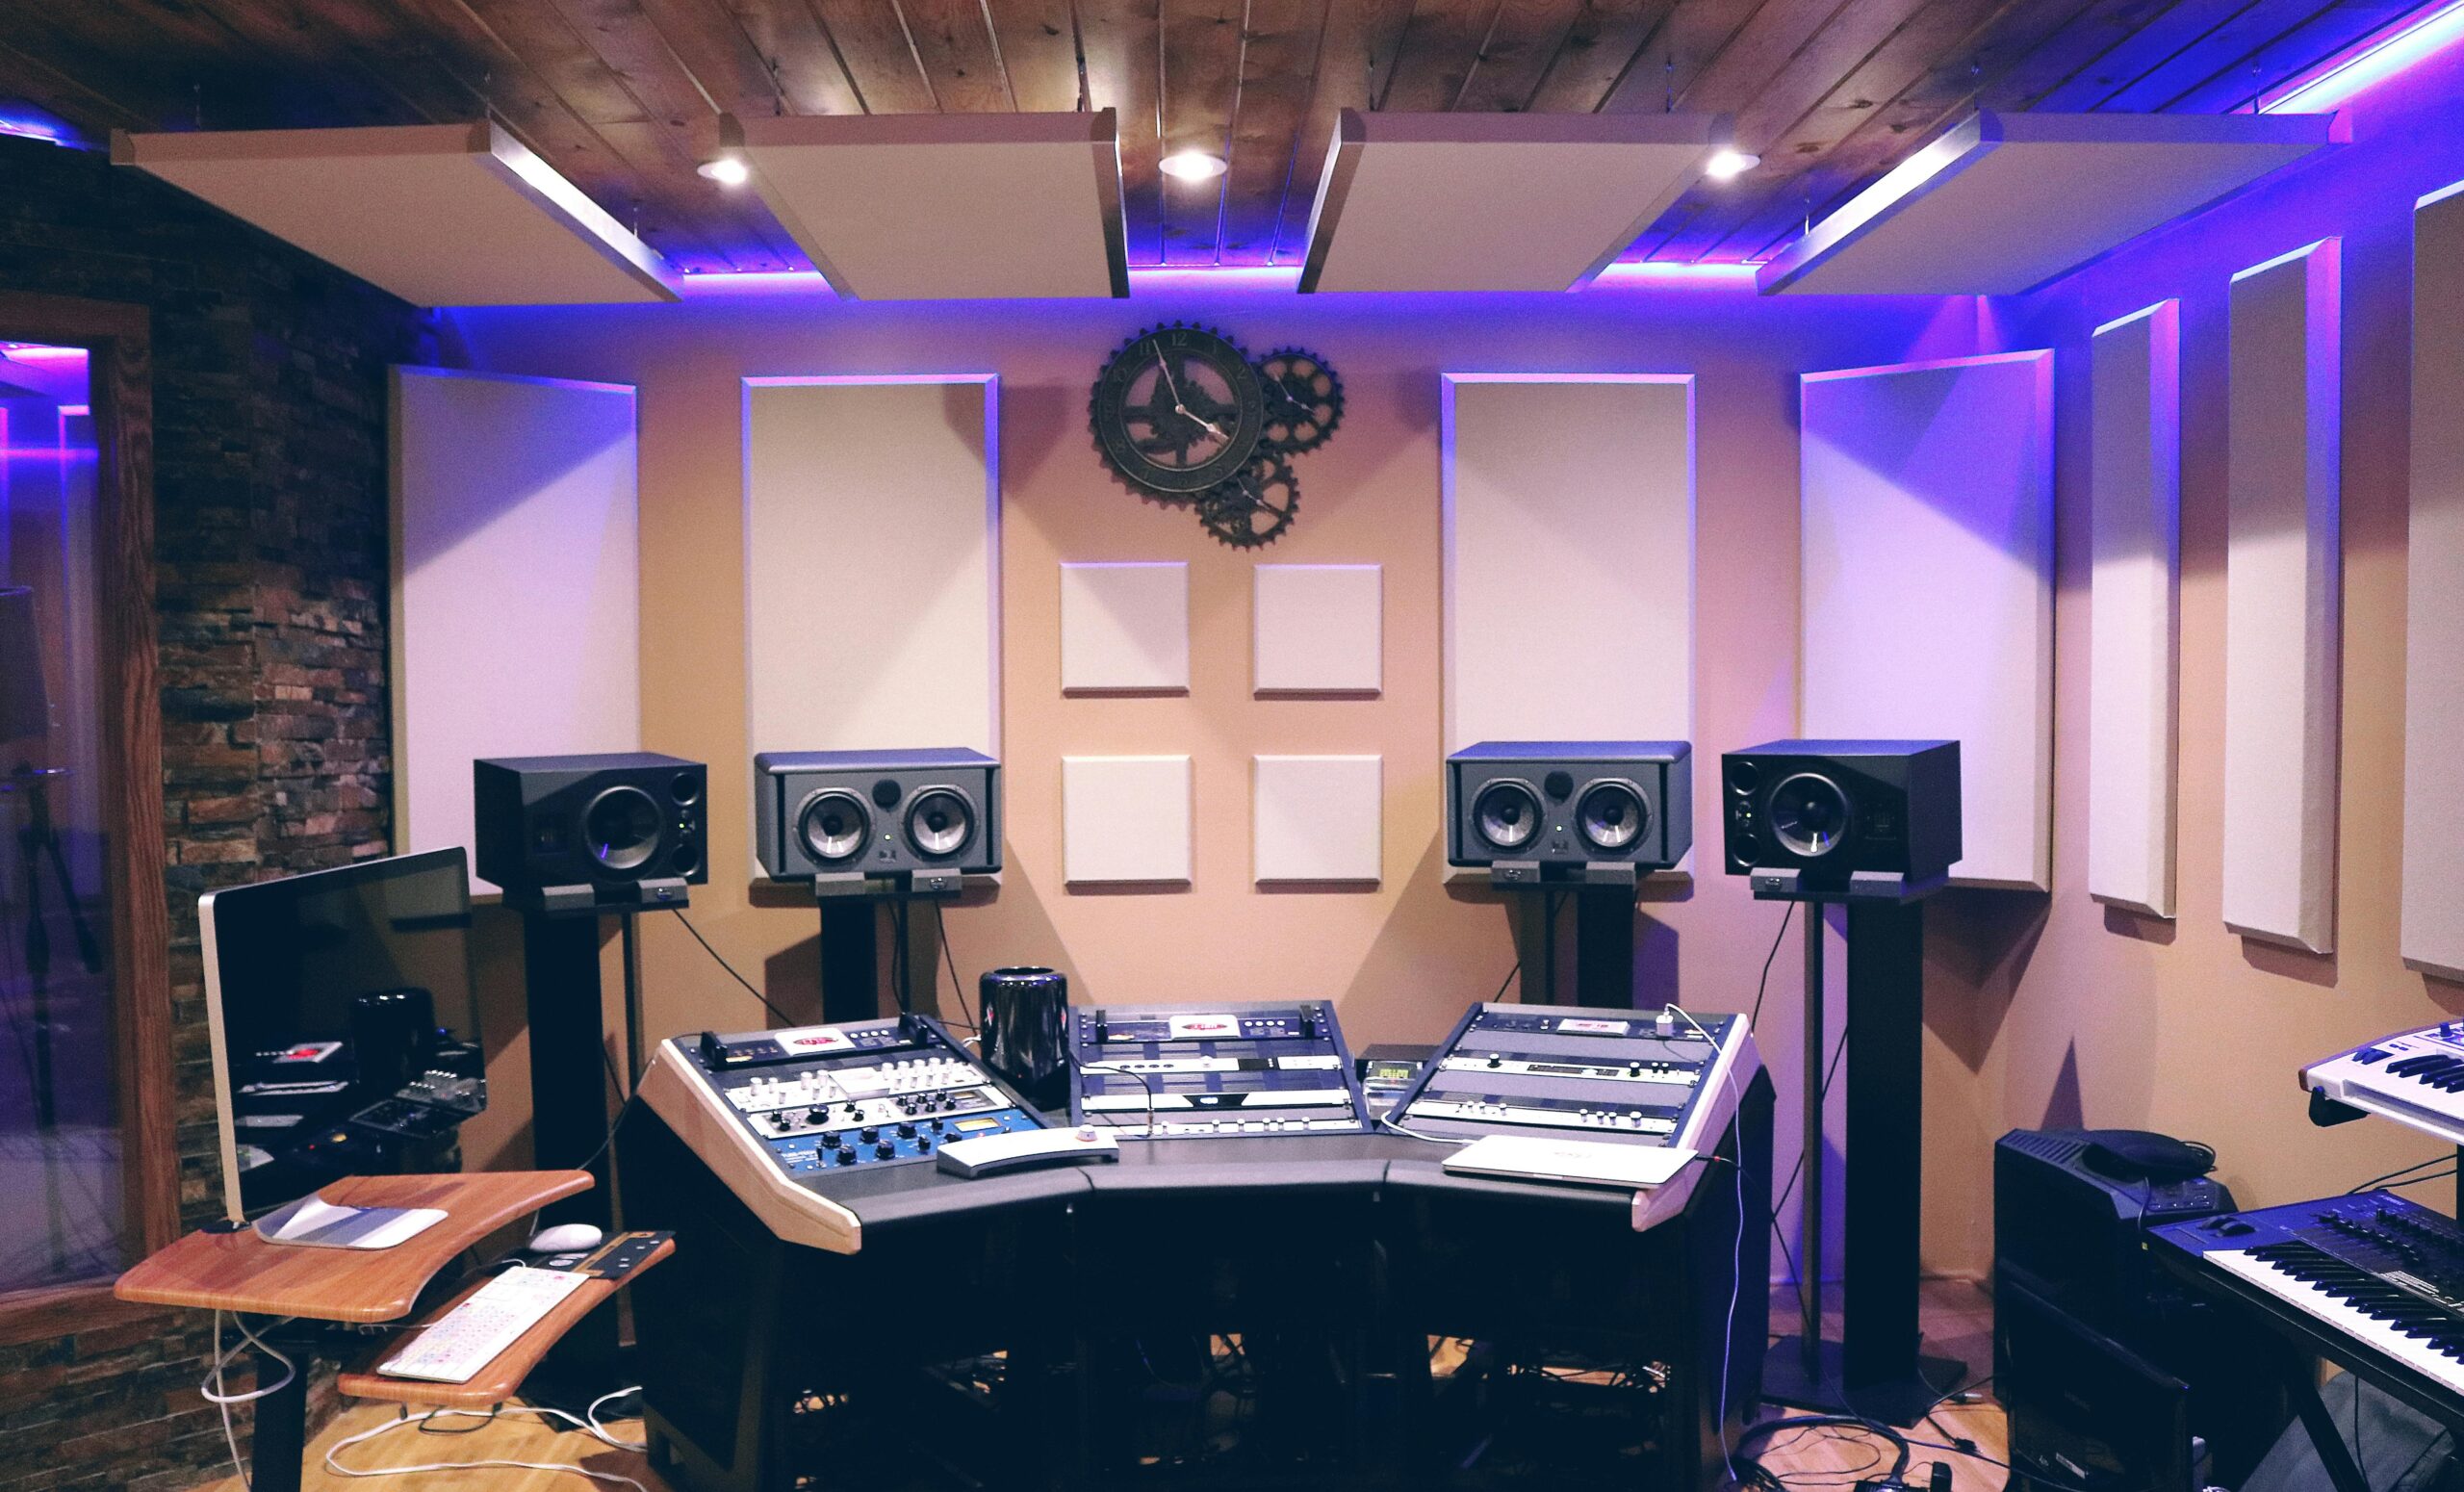
3. Improving Your Room’s Acoustics on a Budget
Even the best gear can fall flat in a poor acoustic environment. Here are some budget-friendly tips to improve sound quality:
- Add Rugs and Curtains: These help absorb sound, reducing echo.
- DIY Acoustic Panels: You can make panels with plywood, rock wool, and fabric to absorb reflections and improve clarity.
- Foam Panels: Affordable foam panels, placed at reflection points, can help balance your room’s acoustics.
Soundproofing can be costly, but simple fixes like these can make a noticeable difference.
4. Organize Your Workflow for Efficiency
The way you set up your equipment can impact your creative process and productivity. Here’s how to create an efficient studio layout:
- Place monitors at ear level for accurate sound.
- Keep your audio interface and MIDI controller within reach for easy adjustments.
- Invest in a desk organizer to avoid cable clutter.
A clean and organized workspace makes for smoother sessions and less time spent on tech issues.
5. Harness the Power of Free and Affordable Plugins
Plugins expand the range of sounds and effects you can use in your DAW. Thankfully, there are countless free and budget-friendly options to explore:
- Free options like TAL-Reverb and iZotope Vinyl add depth and warmth to your recordings.
- Paid plugins like FabFilter Pro-Q (for mixing) and Spitfire LABS (for instruments) are affordable and highly effective.
Combining free and affordable plugins allows you to elevate your music production without overspending.
Tip: Many plugin companies, like Waves and Autotune have subscription models with affordable monthly rates.
6. Optimize Your Studio for Growth
Once your studio is up and running, make a list of upgrades you’d like to invest in down the road. Start by building the foundation, but keep an eye on expanding as your skills and business grow. Possible future upgrades could include:
- Studio monitors for better sound clarity.
- Upgraded microphone for higher-quality vocal recordings.
- A mixing console or additional controllers for hands-on control.
Planning for these improvements ensures you’re always moving toward a studio that meets evolving needs.
7. Use EngineEars to Manage and Monetize Your Studio
When you’re ready to bring in clients, EngineEars offers a suite of tools to make running your studio business a breeze. The platform provides:
- Automated scheduling for easy booking and client management.
- Invoicing and payment processing to simplify transactions and improve cash flow.
- Project management tools that allow you to stay organized and on top of deadlines.
- File storage to safely keep track of all your sessions in one place.
EngineEars helps streamline your business operations, so you can focus on producing great music rather than paperwork.
Final Thoughts: Starting Your Budget Studio Journey
Setting up a home studio on a budget may seem daunting, but with the right approach, it’s more than achievable. Start with essential equipment, create an efficient workflow, and optimize your space for sound quality. As your skills and business grow, make incremental upgrades and consider platforms like EngineEars to professionalize your setup.
With some planning and creative choices, your home studio can become a powerful launchpad for your music career. Happy recording!